AI background removal gives you a fast first cut. The mask editor then lets you erase leftover areas or restore details such as hair, fur and fingers.
1. Select a photo and remove the background
Choose the photo object and run background removal. A clear subject with good contrast normally produces the cleanest initial result.
2. Open mask mode
Zoom in around the outline. Switch between erase and restore instead of repeatedly undoing large edits.
3. Tune the brush
Use a larger soft brush for broad background areas and a smaller, harder brush near important edges. Short strokes are easier to correct than one long movement.
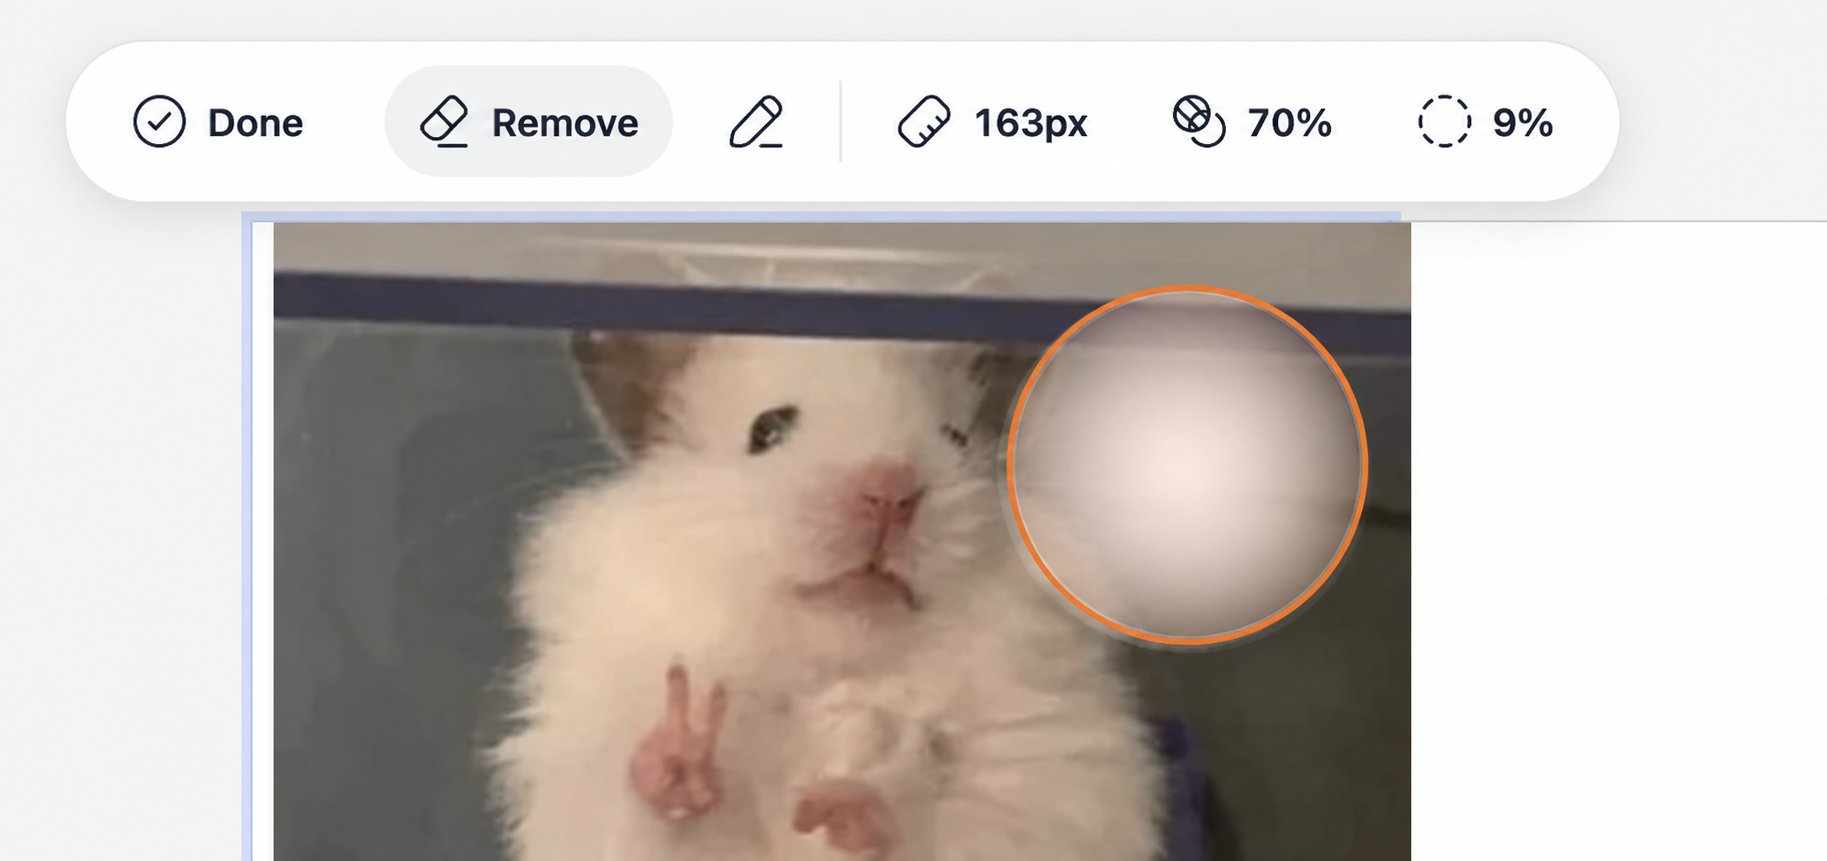
4. Check the transparent result
Inspect the sticker against both light and dark backgrounds. Remove color fringes, floating pixels and gaps inside the subject before publishing.
Tip:A subtle white outline can improve readability, but it should not hide an inaccurate mask.
Next guide
Choose emoji for a sticker